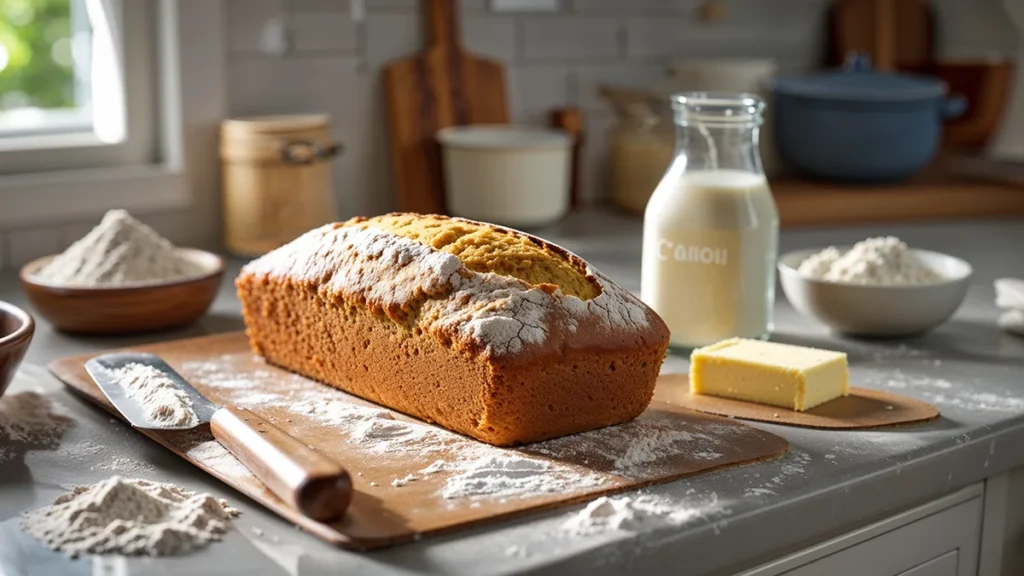
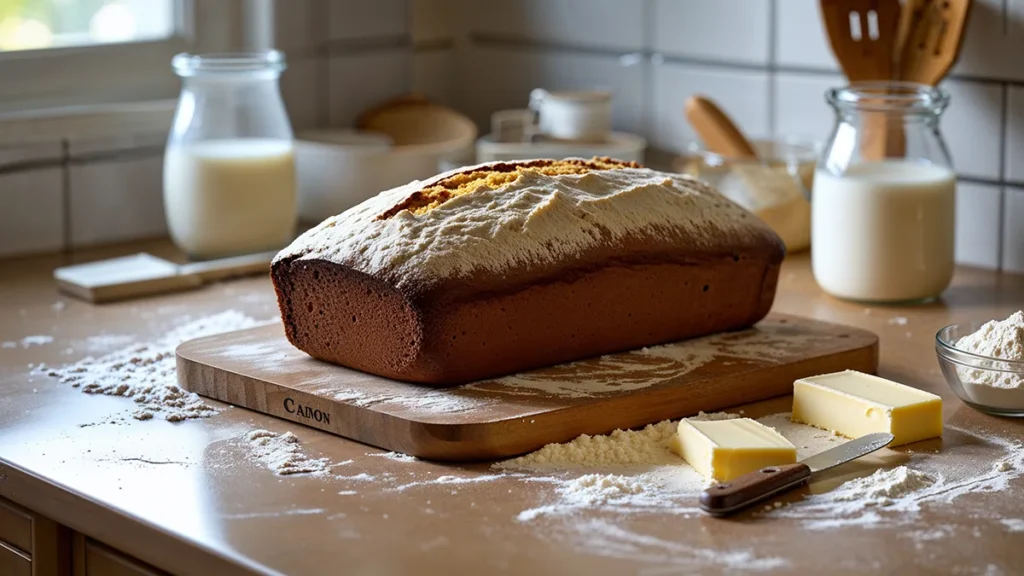
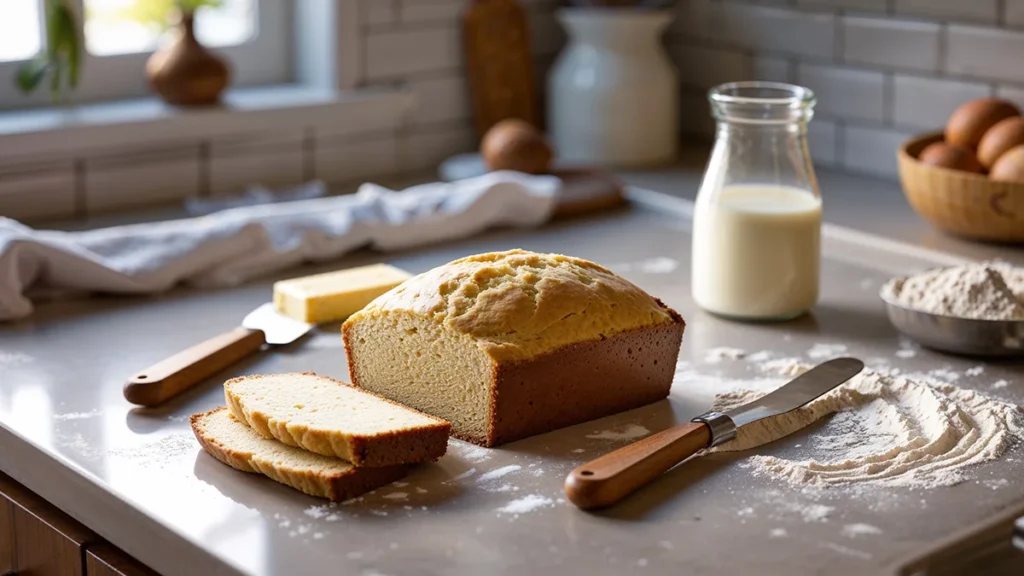
Milk bread recipe is a classic favorite for bakers all over the world. This soft, slightly sweet bread is a staple in many households due to its versatility, delightful texture, and mild flavor. Whether used for breakfast, sandwiches, or simply enjoyed with a pat of butter, milk bread’s comforting quality makes it a perfect addition to any meal. In this article, we will walk you through every step of making this pillowy soft bread from scratch. We will also provide useful tips, troubleshooting advice, and related recipes that you can incorporate into your baking routine.

What Makes Milk Bread Special?
Milk bread, also known as Hokkaido milk bread or Japanese milk bread, is distinguished by its incredibly soft, fluffy, and light texture. The secret to its tenderness lies in a method called the Tangzhong technique—a technique that involves cooking a portion of the flour and liquid before mixing it with the rest of the ingredients. This method helps to retain moisture in the dough, resulting in a bread that stays soft for longer. Milk bread is also subtly sweet, thanks to the milk, butter, and sugar, which add a gentle richness to the flavor.
Unlike other types of bread, milk bread has a delicate crumb structure that is perfect for making fluffy sandwiches or enjoying with a simple spread. It has a slightly chewy exterior and an airy, almost cloud-like interior. Whether you are a seasoned baker or a beginner, milk bread is a recipe that you will want to master.
Ingredients You Will Need
To bake the perfect milk bread, you’ll need a few simple ingredients. Make sure to measure everything accurately and use the best quality ingredients for the best results. Here’s what you’ll need:
Dry Ingredients
- All-purpose flour – 4 cups
- Sugar – 3 tablespoons
- Active dry yeast – 2 teaspoons
- Salt – 1 teaspoon
Wet Ingredients
- Milk – 1 ¼ cups (preferably whole milk for a richer flavor)
- Butter – 3 tablespoons, softened
- Egg – 1 large (this will be used both in the dough and for an egg wash to give the bread a golden finish)
For the Tangzhong (Optional, but Recommended)
- Flour – 2 tablespoons
- Milk – ¼ cup
Egg Wash
- Egg – 1 (beaten for brushing on top of the loaf)

Step-by-Step Instructions for Milk Bread
1. Prepare the Tangzhong (The Secret to Softness)
Start by making the Tangzhong, a flour paste that helps retain moisture in the bread, keeping it soft for days. To make the Tangzhong:
- In a small saucepan, whisk together 2 tablespoons of flour and ¼ cup of milk until smooth.
- Place the saucepan over medium heat and continue to whisk constantly as the mixture thickens. It should reach a pudding-like consistency after about 2-3 minutes.
- Once it thickens, remove it from the heat and let it cool to room temperature before proceeding to the next step.
2. Mix the Yeast with Milk
While the Tangzhong is cooling, warm 1 ¼ cups of milk in the microwave or on the stove. It should be lukewarm, around 110°F (43°C). Add 3 tablespoons of sugar to the milk and stir until dissolved. Sprinkle 2 teaspoons of active dry yeast into the milk and allow it to bloom for 5-10 minutes. If the yeast becomes frothy, it is active and ready to use.
3. Combine the Dry Ingredients
In a large mixing bowl, combine 4 cups of all-purpose flour and 1 teaspoon of salt. Mix them together to ensure even distribution.
4. Mix the Dough
Make a well in the center of the dry ingredients and pour in the yeast-milk mixture, along with the Tangzhong, the softened butter, and 1 egg. Mix everything together until a rough dough forms.
5. Knead the Dough
Transfer the dough to a clean, lightly floured surface. Knead the dough for about 10 minutes. You are looking for a smooth, elastic texture. If the dough feels too sticky, sprinkle it lightly with flour. If it feels too dry, add a small splash of milk to help bring it together.
Pro Tip: If you find the kneading process too difficult, you can use a stand mixer fitted with a dough hook. Knead the dough on medium speed for 6-8 minutes.
6. First Rise: Let the Dough Rest
Once the dough has been kneaded to the right consistency, place it in a lightly greased bowl and cover it with a damp cloth. Let it rise in a warm place for about 1-1.5 hours, or until it has doubled in size. This first rise helps the dough develop flavor and texture.
Tip: If you’re short on time, you can place the dough in a slightly warmed oven with a pan of hot water underneath to create a warm, moist environment that promotes yeast activity.
7. Shape the Dough
After the dough has doubled in size, gently punch it down to release any air pockets. Turn the dough onto a lightly floured surface and divide it into three equal portions. Roll each portion into a ball and arrange them in a greased loaf pan. Make sure the balls of dough are touching each other in the pan, as this will help the bread rise evenly and form a soft, cohesive loaf.
8. Second Rise: Proofing the Dough
Cover the loaf pan with a damp cloth and allow the dough to rise for 45 minutes to an hour. During this time, the dough will expand and fill the pan, preparing it for baking.
9. Baking the Milk Bread
Preheat your oven to 350°F (175°C). Once the dough has finished its second rise, brush the top of the loaf with the beaten egg to give it a glossy, golden finish.
Place the loaf pan in the oven and bake for 25-30 minutes, or until the top is golden brown and the bread sounds hollow when tapped. If you want a softer crust, you can cover the bread with aluminum foil during the last 10 minutes of baking.
10. Cool the Bread
After baking, remove the loaf from the oven and let it cool in the pan for about 5 minutes. Then, transfer the bread to a wire rack to cool completely before slicing. This helps maintain the structure of the loaf.

Internal Linking Opportunities
As you enjoy your freshly baked milk bread, why not explore some other delicious recipes to try? Here are a few related recipes from Mammy Recipe that you can incorporate into your baking routine:
- Blueberry Bread Recipe: A Delicious and Easy Treat – If you enjoy the soft, fluffy texture of milk bread, you’ll love this blueberry bread recipe. It offers a delightful twist with the addition of fresh berries, making it perfect for breakfast or as a snack.
- The Ultimate Guide to Making Arroz con Pollo – Serve your milk bread with a savory dish like Arroz con Pollo (chicken with rice) for a well-rounded meal. The rich flavors of this comforting dish pair perfectly with the soft texture of the bread.
- The Ultimate Guide to Making the Best Chicken Quesadillas – Looking for a savory snack to enjoy with your milk bread? These chicken quesadillas are a fantastic choice. The crispy tortillas and cheesy filling create a wonderful contrast to the soft bread.
- The Ultimate Guide to Homemade Chicken Nuggets Recipe – Pair your milk bread with homemade chicken nuggets for a family-friendly meal. The tender, flavorful bread complements the crispy nuggets perfectly.
Troubleshooting: Common Problems When Making Milk Bread
While making milk bread can be simple, sometimes issues may arise during the process. Here are some common problems and how to fix them:
1. Bread is Too Dense
If your milk bread is too dense, it could be due to overworking the dough or not allowing it to rise long enough. Be sure to knead the dough until it is smooth but not overworked. Also, make sure the dough has enough time to rise during both the first and second rises.
2. Bread Falls Flat After Baking
If your bread falls flat after baking, it could be due to using too much flour or not enough yeast. Check that you are measuring your ingredients correctly and that your yeast is fresh and active. Additionally, make sure that your oven is preheated and that the bread has had enough time to proof before baking.
3. Crust is Too Hard
If you prefer a soft crust, try covering the bread with aluminum foil during the final stages of baking. You can also brush the bread with a bit of butter after baking to help soften the crust.
Tips for the Best Milk Bread
Use High-Quality Ingredients
The quality of the ingredients you use plays a big role in the final flavor and texture of the bread. Opt for high-quality butter and whole milk for the richest flavor. You can also experiment with using different types of flour, such as bread flour, for a slightly chewier texture.
Don’t Skip the Tangzhong
The Tangzhong method may seem like an extra step, but it’s crucial for achieving the soft, fluffy texture that makes milk bread so special. Skipping it can result in a drier, denser loaf.
Experiment with Add-Ins
Milk bread is incredibly versatile. You can add raisins, cinnamon, or even grated cheese to the dough for a unique flavor twist. You can also experiment with flavored butters (such as garlic or herb-infused) to pair with your bread.
Why You Should Try Milk Bread
Milk bread is not just a simple loaf of bread—it’s a versatile, comforting, and delightful treat that can elevate any meal. Whether you enjoy it with butter and jam, use it to make a sandwich, or simply savor it on its own, milk bread is a perfect addition to your baking repertoire. It’s also a wonderful bread to share with friends and family, as its soft texture and delicate flavor are sure to impress.
Making milk bread at home is easier than you might think, and the results are well worth the effort. Plus, by making it yourself, you can control the ingredients and avoid any preservatives or additives that might be found in store-bought bread.
Conclusion
Making the perfect milk bread recipe requires a bit of patience, but the result is incredibly rewarding. With soft, fluffy, and slightly sweet bread, it’s a recipe that’s sure to become a favorite in your household. Don’t forget to experiment with different add-ins or pair your milk bread with savory dishes like Arroz con Pollo or Chicken Quesadillas for a complete meal.
We hope this guide has inspired you to give milk bread a try, and that it becomes a go-to recipe for you and your family.
Happy baking!
Print
How to Make the Perfect Milk Bread: A Comprehensive Guide
- Total Time: 3 hours 30 minutes
- Yield: 12 servings 1x
- Diet: Vegetarian
Description
Milk Bread is a soft, fluffy, and slightly sweet bread with a light texture, made using milk as a primary ingredient to create a moist crumb. This bread has a rich, tender crumb with a mild sweetness and a delicate, soft crust that makes it perfect for sandwiches, toast, or enjoying on its own.
Ingredients
For the Dough:
- 3 cups (360g) all-purpose flour
- 3 tablespoons (36g) sugar
- 1 1/2 teaspoons salt
- 1 tablespoon instant yeast
- 1 cup (240ml) warm milk (around 110°F/45°C)
- 2 tablespoons unsalted butter (softened)
- 1 large egg
- 1/4 cup (60ml) warm water (only if activating dry yeast)
For the Milk Soak (for brushing the top):
- 1/4 cup (60ml) milk
- 1 tablespoon butter (melted)
Instructions
Prepare the Yeast:
- Activate the yeast (if using active dry yeast): In a small bowl, combine the warm milk with the sugar and yeast. Stir to dissolve and let it sit for 5-10 minutes until it becomes frothy. If using instant yeast, skip this step and add the yeast directly to the dry ingredients.
2. Mix Dry Ingredients:
- In a large bowl, combine the all-purpose flour, salt, and sugar. Create a well in the center for the wet ingredients.
3. Add Wet Ingredients:
- Add the egg, butter, and the yeast mixture (or instant yeast) to the well of the dry ingredients. Mix until a rough dough begins to form.
4. Knead the Dough:
- Transfer the dough onto a lightly floured surface and knead for 8-10 minutes until the dough becomes smooth, soft, and elastic. If using a stand mixer, knead on medium speed for about 5-7 minutes with a dough hook. Add more flour a little at a time if the dough is too sticky, but be careful not to add too much.
5. First Rise (Bulk Fermentation):
- Place the dough in a lightly greased bowl and cover with a damp cloth or plastic wrap. Allow it to rise in a warm area for about 1 to 1.5 hours, or until it has doubled in size.
6. Punch Down and Shape:
- Once the dough has risen, punch it down to release air. Transfer the dough to a lightly floured surface.
- Shape the dough into a smooth rectangle. Fold the edges inward, then roll it tightly into a log shape. Seal the seam by pinching it together.
7. Second Rise (Proofing):
- Place the shaped dough into a greased 9×5-inch loaf pan. Cover it loosely with plastic wrap or a damp cloth and allow it to rise for 45 minutes to an hour until the dough is just above the rim of the pan.
8. Preheat the Oven:
- While the dough is rising, preheat your oven to 350°F (175°C).
9. Bake the Bread:
- Once the dough has risen, brush the top with a little milk and melted butter to give it a shiny, golden finish.
- Bake for 25-30 minutes, or until the top is golden brown and the bread sounds hollow when tapped on the bottom. If needed, you can tent the bread with foil during the last few minutes of baking to avoid over-browning.
10. Cool the Bread:
- Once baked, remove the bread from the oven and allow it to cool in the pan for about 10 minutes.
- Transfer the bread to a wire rack to cool completely before slicing.
Notes
1. Flour Type:
- All-purpose flour works best for this recipe, as it gives the bread a soft texture. Avoid using bread flour unless you want a chewier, denser loaf. If you use whole wheat flour, you may need to adjust the liquid content, as it absorbs more moisture.
2. Yeast:
- Instant yeast is preferred because it doesn’t require activation, and it works faster. If you use active dry yeast, make sure to activate it with warm milk before using. The milk should be around 110°F (45°C) – too hot, and it may kill the yeast, too cool, and it won’t activate properly.
3. Milk Temperature:
- When using warm milk for the dough, ensure it is not too hot. Aim for about 110°F (45°C) to avoid killing the yeast. If it’s too cool, the dough will rise slowly.
4. Kneading:
- The dough should be smooth and elastic after kneading. If the dough sticks to your hands, add a little flour, but do so sparingly. A slightly sticky dough will yield softer bread.
- If using a stand mixer, knead on medium speed for about 5-7 minutes, or until the dough pulls away from the sides of the bowl.
5. Rising Time:
- The dough needs to rise until it has doubled in size during the first rise and should just rise above the rim of the pan during the second rise. Rising times may vary depending on the room temperature, so be patient and allow the dough to rise sufficiently.
6. Shaping:
- When shaping the dough, make sure to roll it tightly to avoid large air pockets. Pinch the seams to seal the dough properly. This helps the bread bake evenly and results in a smooth, uniform loaf.
7. Oven Temperature:
- Every oven is different, so keep an eye on your bread as it bakes. If the top is browning too quickly, cover it loosely with aluminum foil to prevent burning while allowing the bread to finish baking.
8. Cooling:
- Let the bread cool completely before slicing for the best texture. If you slice it while it’s still hot, the crumb may become gummy, and the loaf could lose its soft, airy texture.
9. Storing:
- To keep your milk bread fresh, store it in a bread box or wrap it in a clean kitchen towel. You can also place it in an airtight container at room temperature for up to 3-4 days.
- If you’d like to keep it longer, freeze the bread. Slice it first for easy thawing, and wrap it tightly in plastic wrap and foil before freezing. You can thaw the slices individually or the whole loaf as needed.
10. Variations:
- Sweet Milk Bread: You can increase the sugar to 4 tablespoons if you prefer a sweeter flavor, or even add a little vanilla extract.
- Toppings: For a touch of sweetness and flavor, try sprinkling the top of the dough with a little sugar or cinnamon before baking. You can also add raisins or other dried fruits to the dough for a different twist.
- Prep Time: 3 hours
- Cook Time: 30 minutes
- Category: Baked Goods
- Cuisine: Japan
Nutrition
- Serving Size: Per Serving
- Calories: 150 kcal
- Sugar: 5g
- Fat: 5g
- Saturated Fat: 2g
- Carbohydrates: 25g
- Fiber: 2g
- Protein: 4g
- Cholesterol: 30mg
Keywords: milk bread recipe, soft milk bread, how to make milk bread, Japanese milk bread, fluffy bread, milk bread recipe step by step, homemade milk bread, yeast bread recipe, milk bread baking, milk bread loaf

